Setting Up Your Call Disposition is as Easy as 1, 2, 3
*NOTE: The Disposition feature must be enabled by your Clarity Support team. Simply submit the custom Disposition and Reason codes you would like to use to support@clarityvoice.com and we’ll do the rest!
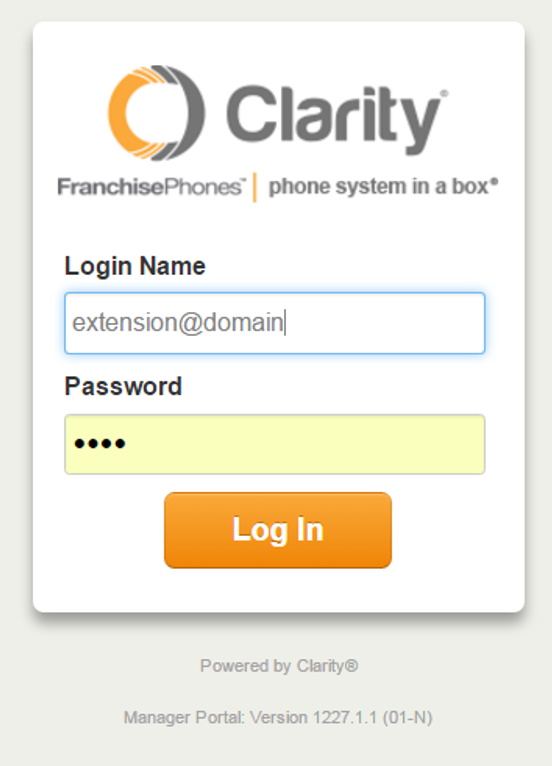
1. Navigate to portal.clarityvoice.com, you should see the login page:
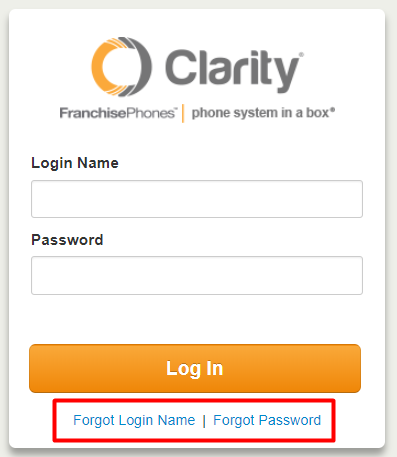
2. Enter your Extension and Domain, for example, 200@handyman, along with your password. If you don’t know your password, click Forgot Password to have a password reset email sent to you. Click Login.
3. To manually add Disposition Notes:
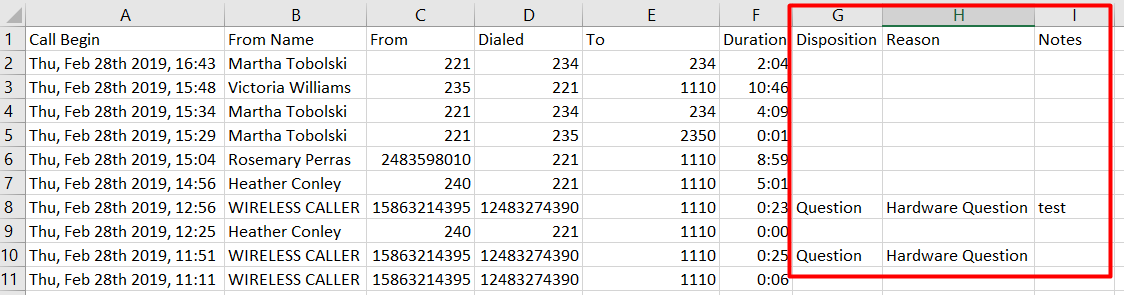
- Click the Call History tab on the top row.
- Locate the Call Detail Record (CDR), then click the Notes icon at the far right as shown below:

- Once a Disposition note has been added, then the Disposition type will appear in the Disposition column.
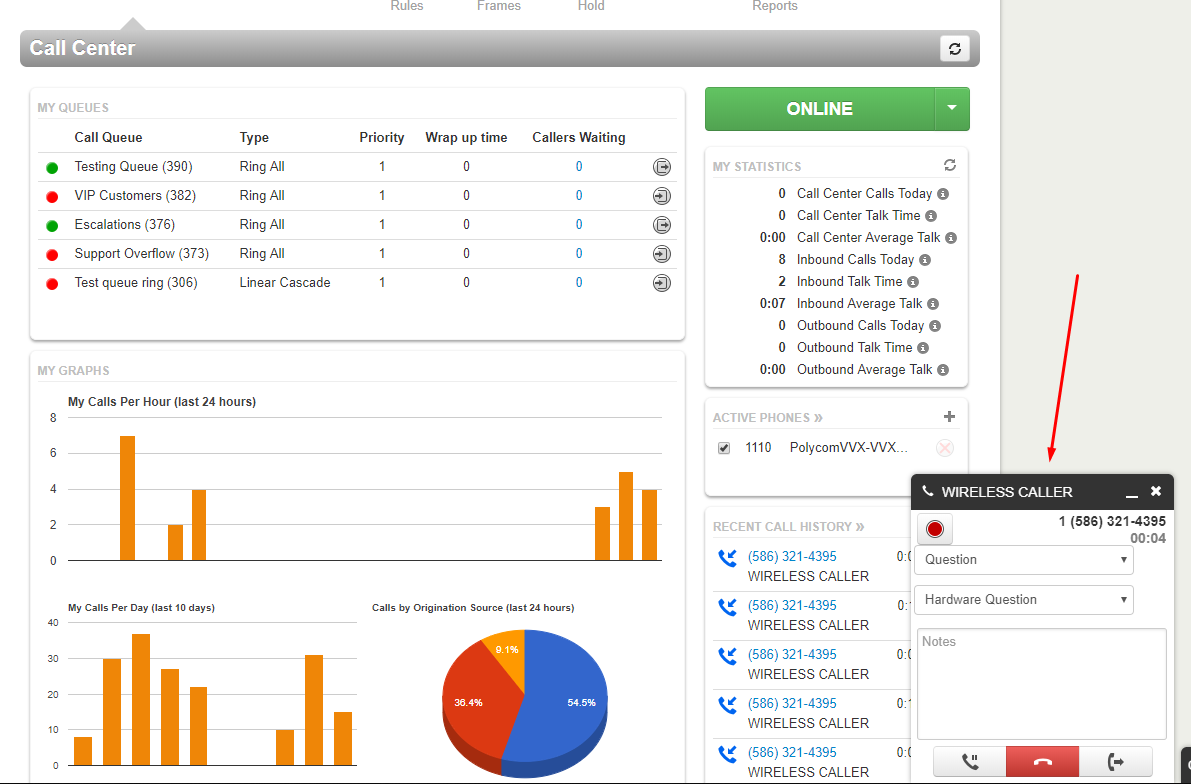
4. To receive a pop-up Disposition window while on a call:
- Customers must have the Call Center add-on feature
- Agent Status must be set to ‘online’
- Answer the inbound call and a pop-up window will appear in the bottom right corner as shown below:
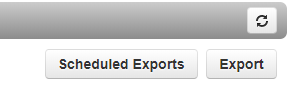
5. Dispositions may be exported with the CDRs by clicking the Export button: