
Setting Up Your Call Queuing is as Easy as 1, 2, 3
How to Setup Your Call Queuing
One of the key features of the Clarity platform is it’s advance Call Queuing capabilities. Call Queues allow you to create an environment in which your customers will never hear a busy signal and are routed in a proper method, according the the rules you configure. This flexibility allow you to create a call handling strategy that works for your business needs, whether that be a large call center, a small office or even groups of remote employees spread out around the world.
Strategies
Clarity Call Queues offer an array of strategies allowing you to choose what works best for your business. Clarity uses Automatic Call Distribution (ACD) to route calls according to the rules that you create. There are 5 main types and each is listed below with a brief description.
- Round Robin (Longest Idle) – Routes the caller to the agent that has been idle longest.
- Ring All – Routes the caller to all available agents at the same time.
- Linear Hunt – Routes the caller to the available agents, always in the same predefined order.
- Linear Cascade – Routes the caller to groups of available agents in a predefined order.
- Call Park – Places the caller on hold, on all phones, until an agent retrieves them.
Once the Call Queue has been setup by Clarity Support, you can add, delete, or modify users in the queue.
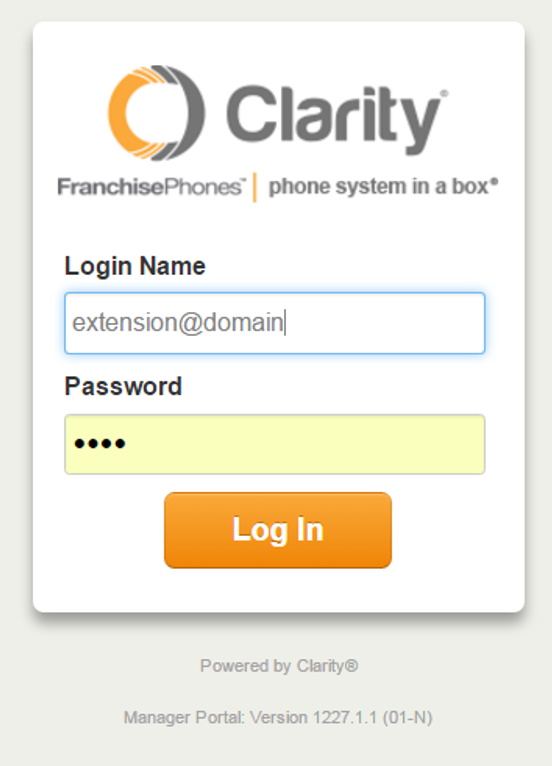
1. Navigate to portal.clarityvoice.com, you should see the login page:
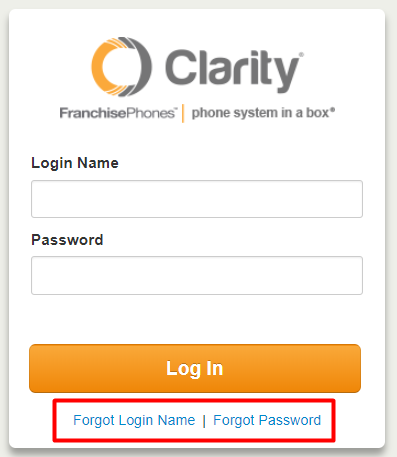
2. Enter your Extension and Domain, for example, 200@handyman, along with your password. If you don’t know your password, click Forgot Password to have a password reset email sent to you. Click Login.
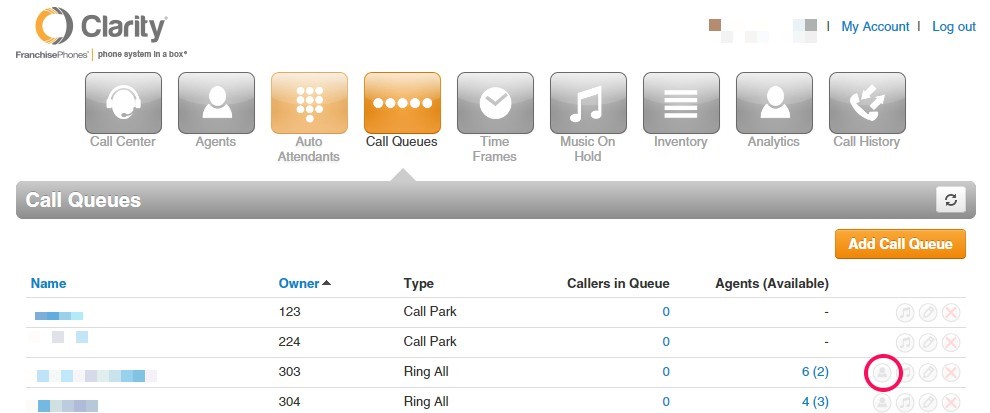
3. The main landing page has several tabs, click the Call Queues tab.

Adding Agents
You can add agents to the queue by following these instructions:
- Hover your mouse over the right-hand side of the queue. Icons will appear for the different options you have for that queue. Click the person icon Edit Agents as shown –
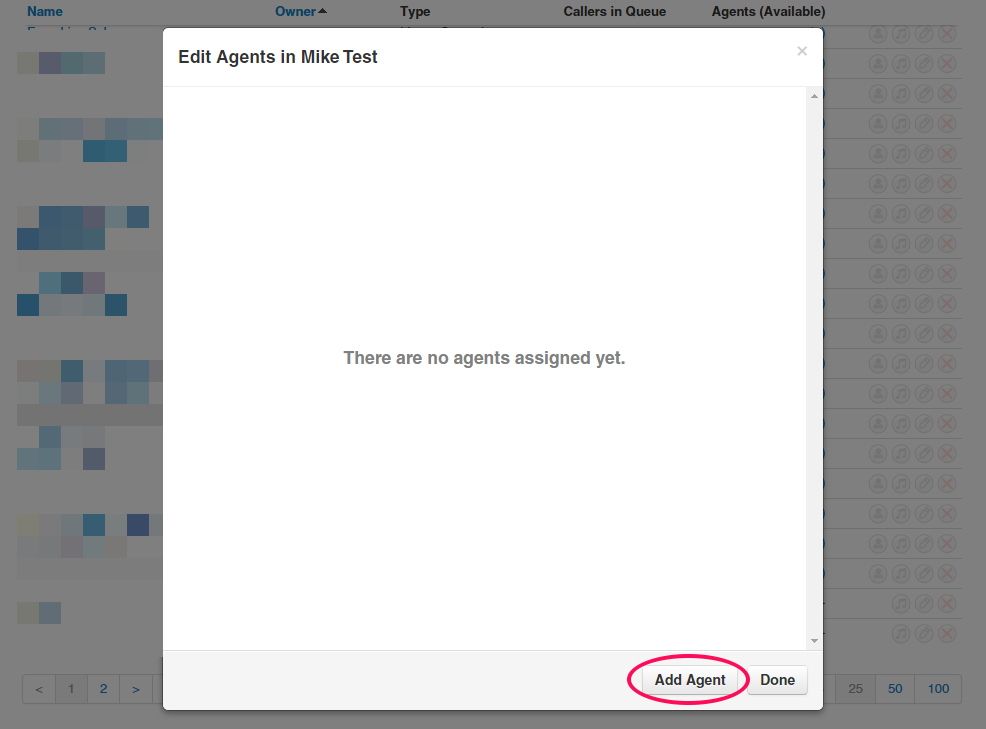
- If you have not added any agents, a blank window should popup with a message “There are no agents assigned yet”. Click on the Add Agent button to add an agent.
- You will be presented with additional options including what agent at add (Agent Phone). Start entering an extension number of one of your users and a list will appear with possible options.
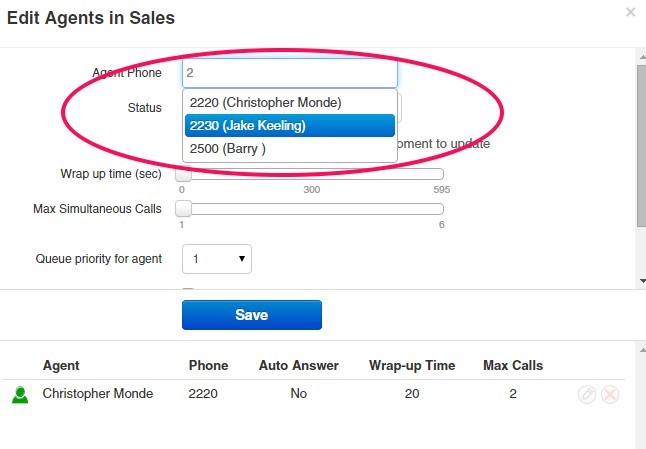
- Choose an Agent Phone (the extension of the agent you want to add). Once you have selected an agent, you can select options for your agent based on your business needs. An explanation of each of these options is listed here:
- Status – You can set the agents initial status to Online, Offline or Online: One Call (*NOTE: The Online: One Call setting will send on call to the agent then log the agent out. This is most commonly used at the end of an agents shift). The agent will be allowed to update their own status once they are in the queue.
- Wrap Up Time – The number of seconds before an agent is available to take a call again.
- Max Simultaneous Calls – The maximum number of calls the user can be on at one time.
- Queue Priority for Agent – The priority for the agent in the queue. Lower numbers are prioritized higher. This allows you to set agents with the higher skill level to be prioritized when a call comes in.
- Request Confirmation – An agent can ‘Confirm’ receiving a call once they pick up the phone and press ‘1’.
- Auto Answer – Will answer the call automatically based on queue type. For a Round Robin queue, this will be the first agent to ring. For Ring All or Call Park, it will be the longest idle agent.
- Once you have selected your options for the agent, click the Save button.

- After you’ve clicked Save, the agent you selected should be listed in the Agent window.
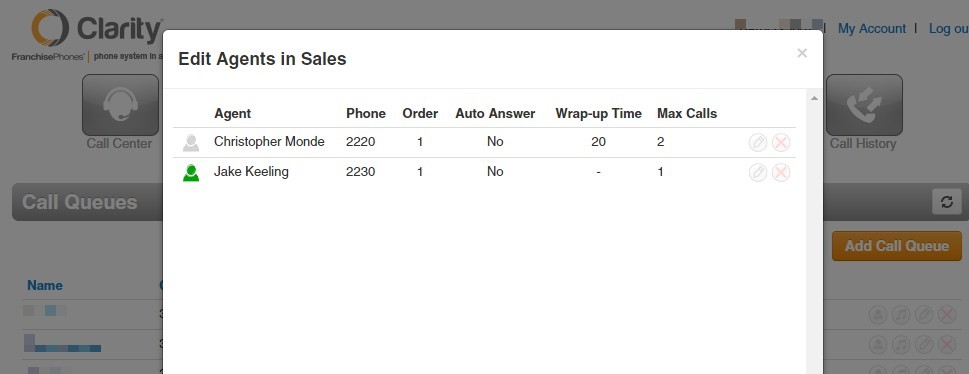
You can now close the queue Agents window add another agent, delete an agent by clicking the Red ‘X’ next to their name, or edit any of the agents currently in the queue.
Advanced Queuing
As different business needs arise, you may have a primary group of agents you would like in a queue and another group that rings (in addition to the first) after a given period of time. The most effective way to accomplish this is by using an escalations queue. Please contact Clarity Support for assistance in setting up Advance Queuing.
OR
Queue Callback is a new feature that allows a caller in the queue to request a callback from the next available agent. This feature holds the caller’s place in the queue until an agent is available. *NOTE: You must have Call Center Supervisor or Office Manager permissions to set this option. You can also contact Clarity Support for assistance setting up this feature.
General Description
After a preset time, and all agents are on a call, callers will hear the following message in the queue: “All of our agents are busy, press 3 to keep you place in the queue and receive a callback when an agent is available. Press the # key to return to the queue or you can hang up at any time”.
- The message will continue to play after each Queue Timeout period.
- If the caller presses option ‘3’, they will hear “Please confirm your callback number is xxx-xxx-xxxx. Press ‘1’ to confirm or press ‘2’ to enter a different call back number”.
- By entering a call back number, saves their place in line. As soon as the next agent is available, their phone will ring. The agent will hear “We are connecting you to a customer. To accept this call, press ‘1’”.
- When the agent presses ‘1’, an outbound call is made to the customers call back number.