Setting Up Your Shared Contacts is as Easy as 1, 2, 3
*NOTE: You must have Office Manager or Advanced User permissions to perform this function.
1. Navigate to portal.clarityvoice.com, you should see the login page:
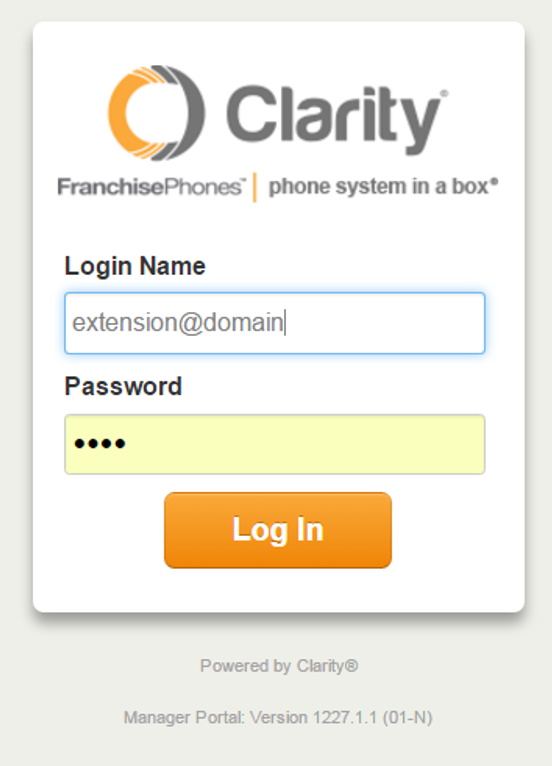
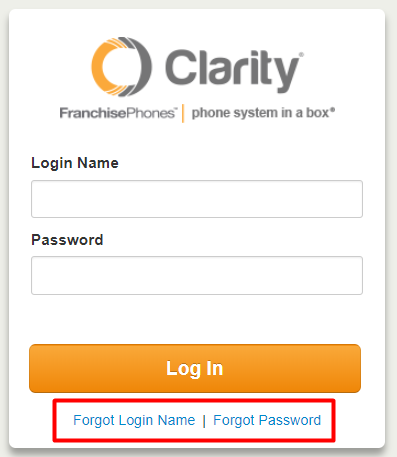
2. Enter your Extension and Domain, for example, 200@handyman, along with your password. If you don’t know your password, click Forgot Password to have a password reset email sent to you. Click Login.
Adding Shared Contacts
-
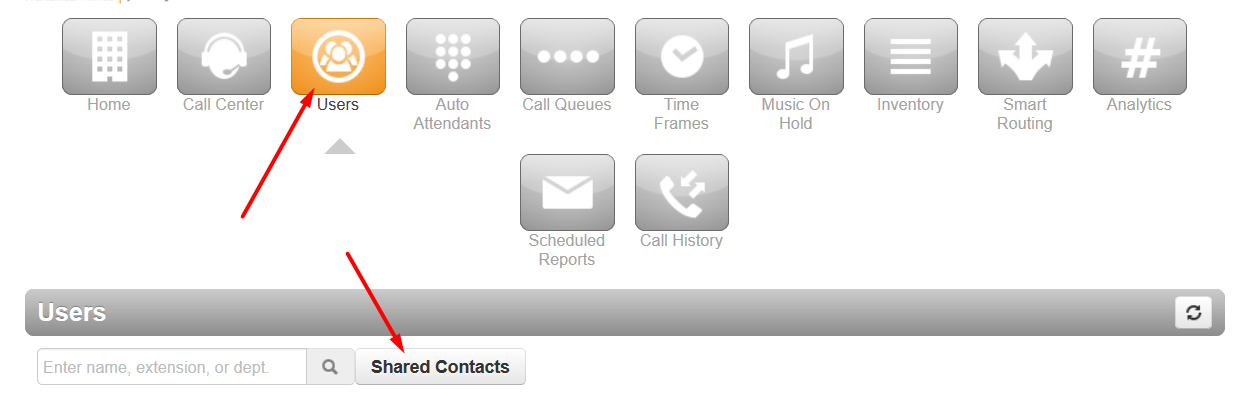
- Click Users, then Shared Contacts.
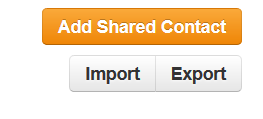
- A shared contact can be added by clicking the Add Shared Contact button or by importing. Importing shared contacts uses the same CSV format as for regular contacts.
- Fill out the details of the contact and click Save.
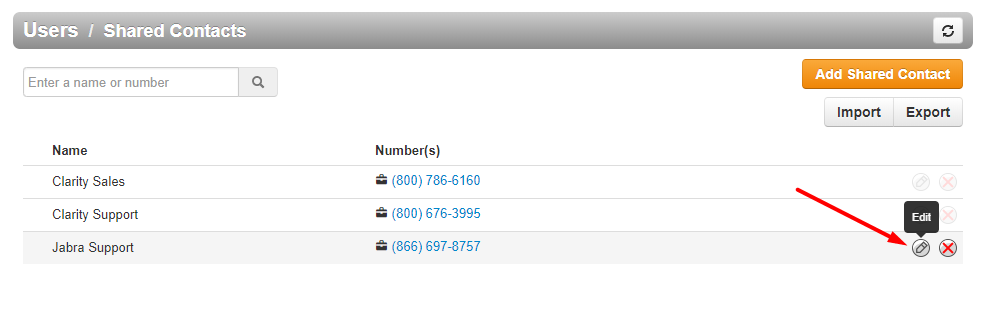
4. Shared Contacts can be edited or deleted using the standard Edit and Delete buttons.
Viewing Shared Contacts
You can view Shared Contacts by:
-
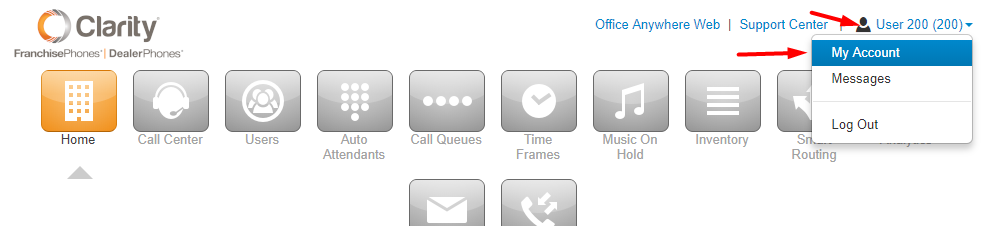
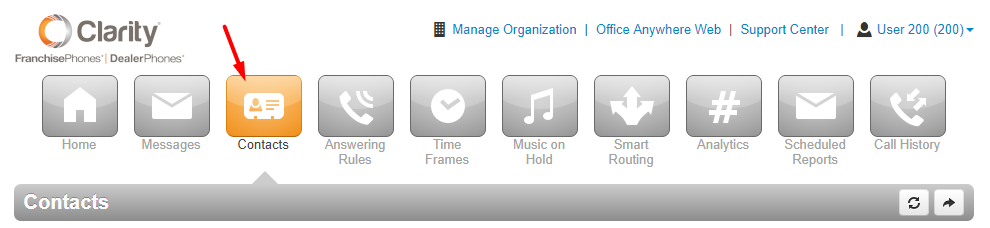
- Visiting your Contacts page. Click your User Name in the upper right-hand corner, then select My Account.
2. The choose Contacts.
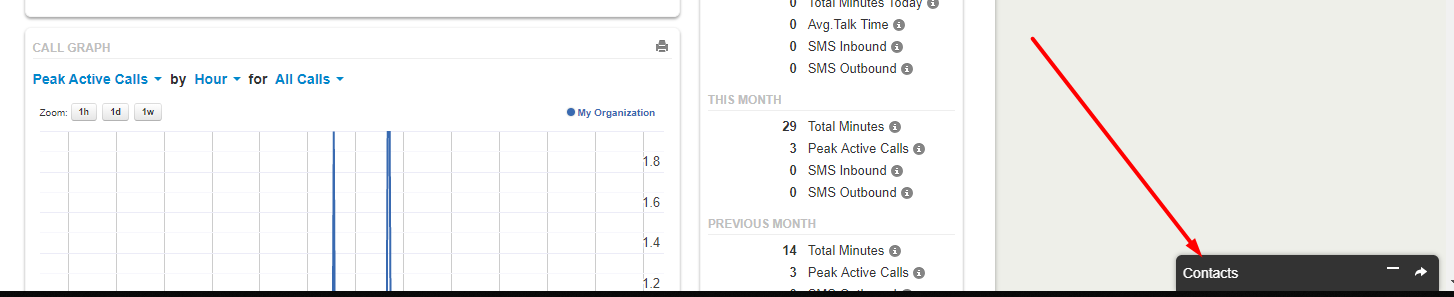
3. Or, you can open the Contacts dock at the bottom right of your screen.
-
-
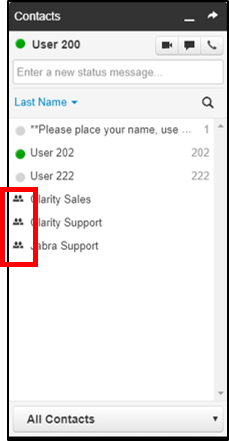
- A shared contact will have a special icon next to their name to differentiate it from regular contacts.
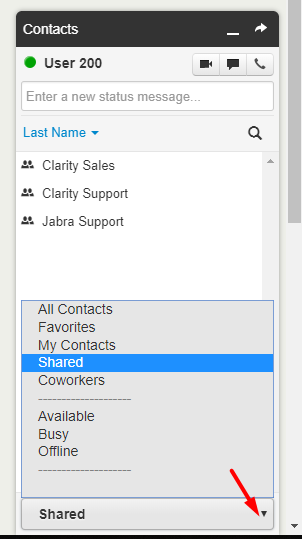
- You can choose to view only shared contacts by clicking the drop-down filter and selecting Shared.
-