
Setting Up Your Smart Routing® is as Easy as 1, 2, 3
1. Navigate to portal.clarityvoice.com, you should see the login page:
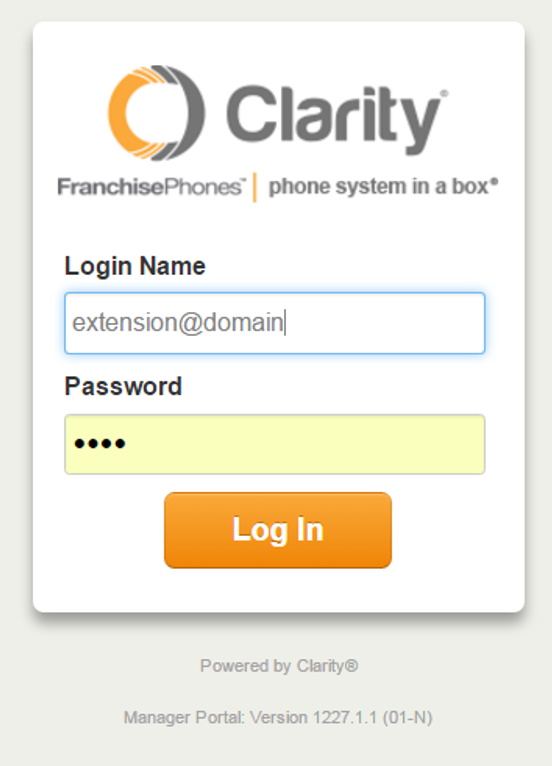
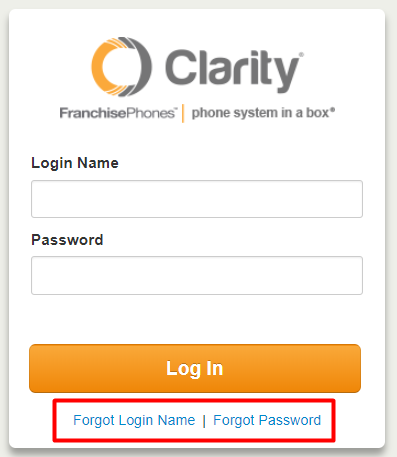
2. Enter your Extension and Domain, for example, 200@handyman, along with your password. If you don’t know your password, click Forgot Password to have a password reset email sent to you. Click Login.
3. The main landing page has several tabs, click the Smart Routing tab.
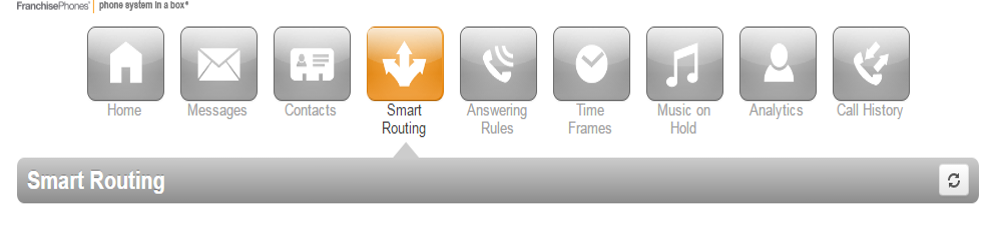
4. Under this tab, there are two sections: My Call Routing and My Timeframes.
My Call Routing
This section contains Answering Rues which determine how incoming calls will route. You may have multiple entries if you have different routing for different phone numbers. To see which numbers use the routing you are looking at, hover over the ![]() icon.
icon.
- Status – shows whether or not the Answering Rule is active. It will show
 when active, and
  when inactive
 - Enable – enable or disables the Answering Rule
- When – shows when an Answering Rule will be active (e.g. after close of business).
- Edit – provides additional details and options for editing.
Editing My Call Routing
After clicking the edit ![]() icon, you have the following options. Click the
icon, you have the following options. Click the ![]() icon next to each option to edit it.
icon next to each option to edit it.
- Enable – enables or disables the Answering Rule
- When Unanswered – enter the extension or phone number you’d like calls to go to if they are not answered.
- When Off Line – enter the extension or phone number you’d like calls to go to if the phones are off line (e.g. internet or power outage).
- Answer Confirmation for Offnet Numbers – enables ‘Press 1 Confirmation’ which, when forwarding to a cell phone, prompts you to press ‘1’ to accept the call.
You can also add or edit offnet numbers. To add a number, click the ![]() icon, and enter ‘1’ followed by the 10-digit number with no spaces. You can also delay before calling, and select whether or not you’d like to place a test call.
icon, and enter ‘1’ followed by the 10-digit number with no spaces. You can also delay before calling, and select whether or not you’d like to place a test call.
Click Save when you’re done editing.
My Timeframes
This section contains the Timeframes during which the Answering Rules in My Call Routing will be active.
- Click the
 icon to see options for editing.
 - Click the
 icons to remove or add the times you want the rule to be active.
 - Drag either end of the slider
 icon to change the active times for each day.
Under Specific Dates at the bottom, you can add dates and times that you want the Timeframes to be active. Simply click the ![]() icon and add the desired dates and times.
icon and add the desired dates and times.
5. Click Save and you’re all done! You will now be able to change your Answering Rules and Timeframes from your portal.